Our Favourite Hens Inspired Makeup Looks To Suit Any Occasion
With the help of the very talented Serena Wyllie, one of Australia’s top makeup artists, The Parlour Room founder Natalie Ferrari shares some of her favourite hens inspired makeup looks suited to any occasion. See below for a step-by-step guide to each look, as well as links to products and inside tips and tricks from Serena.
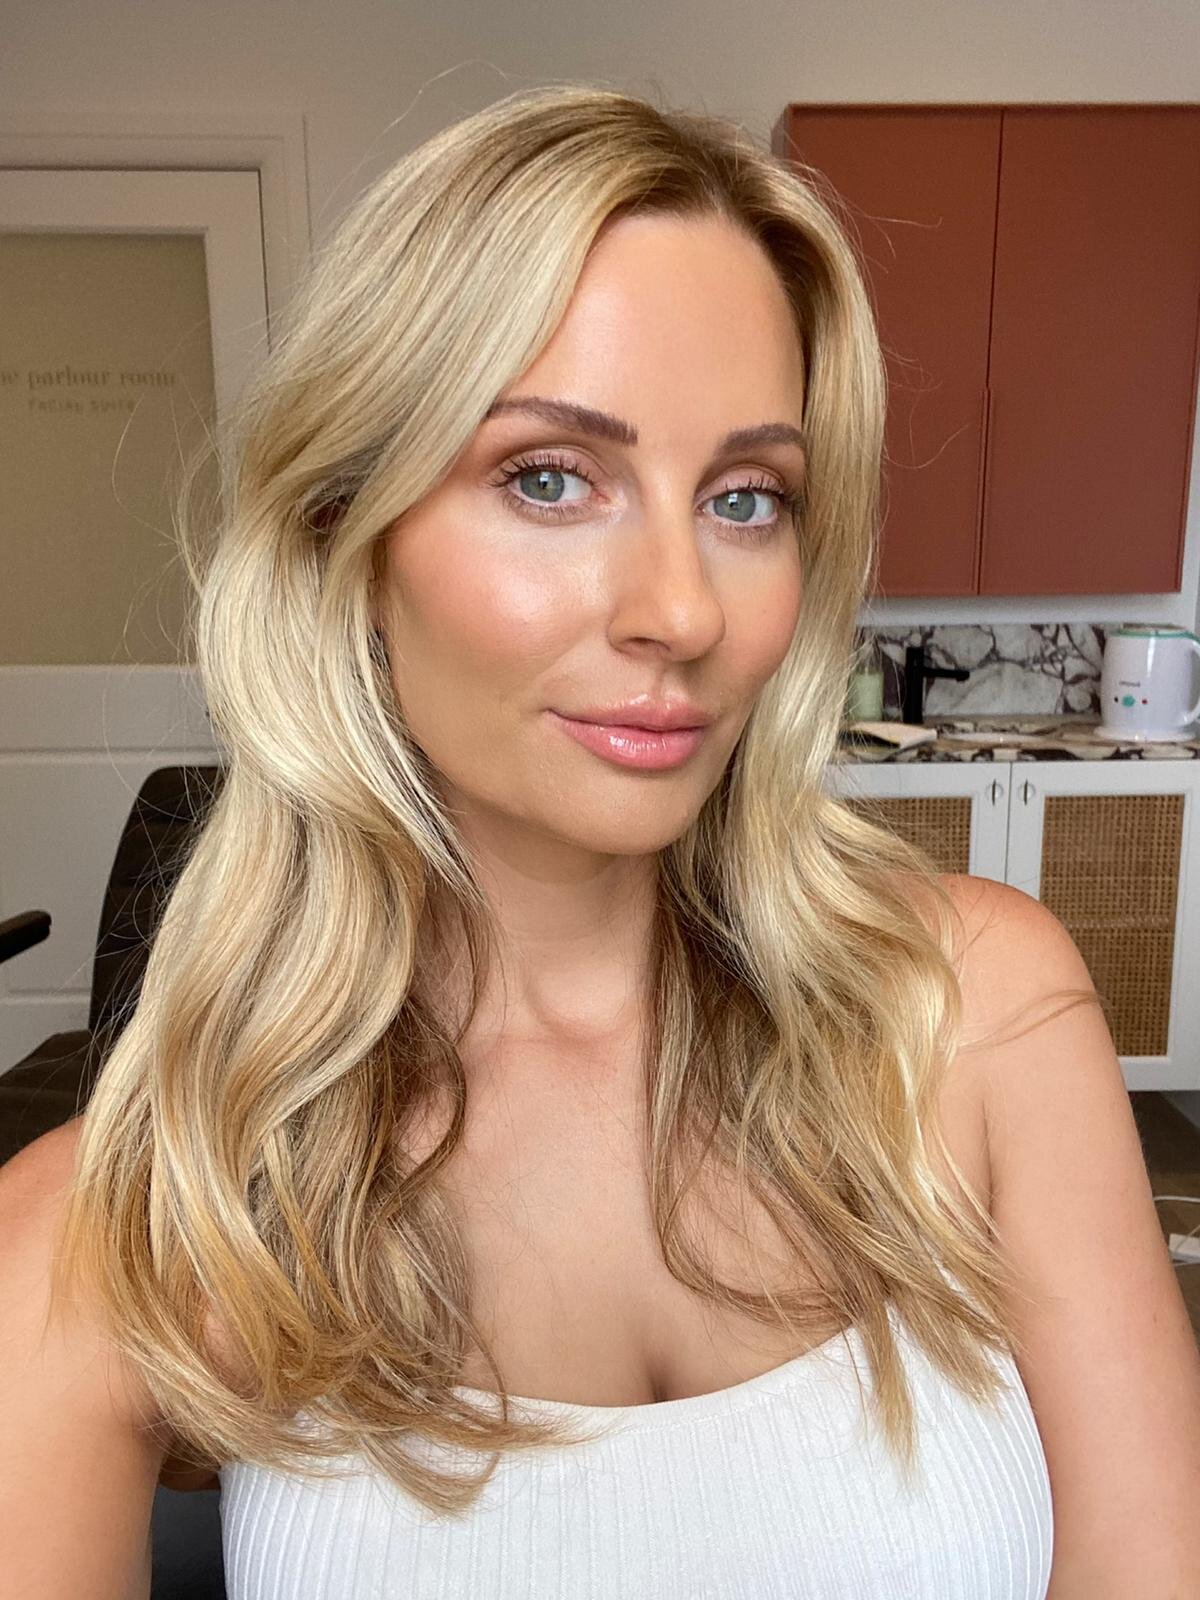
NATURAL GLOW
Best suited for more of a day time look this is what we would recommend if you’ve got a long lunch and want your makeup to last throughout the day and into the night. Neutral and natural is the goal here, where you want to enhance your features, not recreate entirely new ones, with a preference for creams over powder for a really soft, dewy finish.
The key to achieving this look is to work incrementally starting from the base as you lay the foundations, ensuring your skin is well-hydrated to start. Even if you think you have oily skin. The more hydrated your skin is, the more natural the makeup will look.
STEPS:
Always start with a primer to hydrate and prep the skin. The ARMANI LUMINOUS SILK HYDRATING PRIMER is Serena’s favourite as it’s her' ‘all in one’, as it works as a serum to hydrate and prep the skin.
Prep the lips using the BY TERRY BAUME DE ROSE before your start the rest of the look. Doing this now will ensure they’re treated in time for the lipstick at the end of your makeup.
Next, apply the CHARLOTTE TILBURY WONDER GLOW FACE PRIMER on the decolletage and under the eyes to help brighten and lift your skin and give you that ‘lit from within’ look.
Apply your foundation, Serena used the ARMANI LUMINOUS SILK FOUNDATION on Natalie.
TIP: Use the warmth of your fingers to press into the skin or a damp beauty blender for a really soft and dewy finish.
Serena then used the BECCA COSMETICS UNDER EYE COLOUR CORRECTOR to even out the skin tone.
TIP: Using a colour corrector after applying foundation means you don’t need to use as much concealer.
Add some blush, Serena uses the NUDESTICK SWEET PEACH POENY BLUSH
TIP: Applying over your nose will help even it out and give off that beautiful sunkissed look.
Gently brush a touch of bronzer along the cheeks and across the eyelids.
To add some definition to the eyes, use the MARC JACOBS AT LASH’D LIFTING & VOLUMIZING MASCARA.
TIP: If you make a mistake and get it on your skin, wait for it to dry and then use a clean spoolie to flick it off. It’s much cleaner and less likely to leave a mark.
To finish, apply a small amount of setting powder so you’re ready to go.
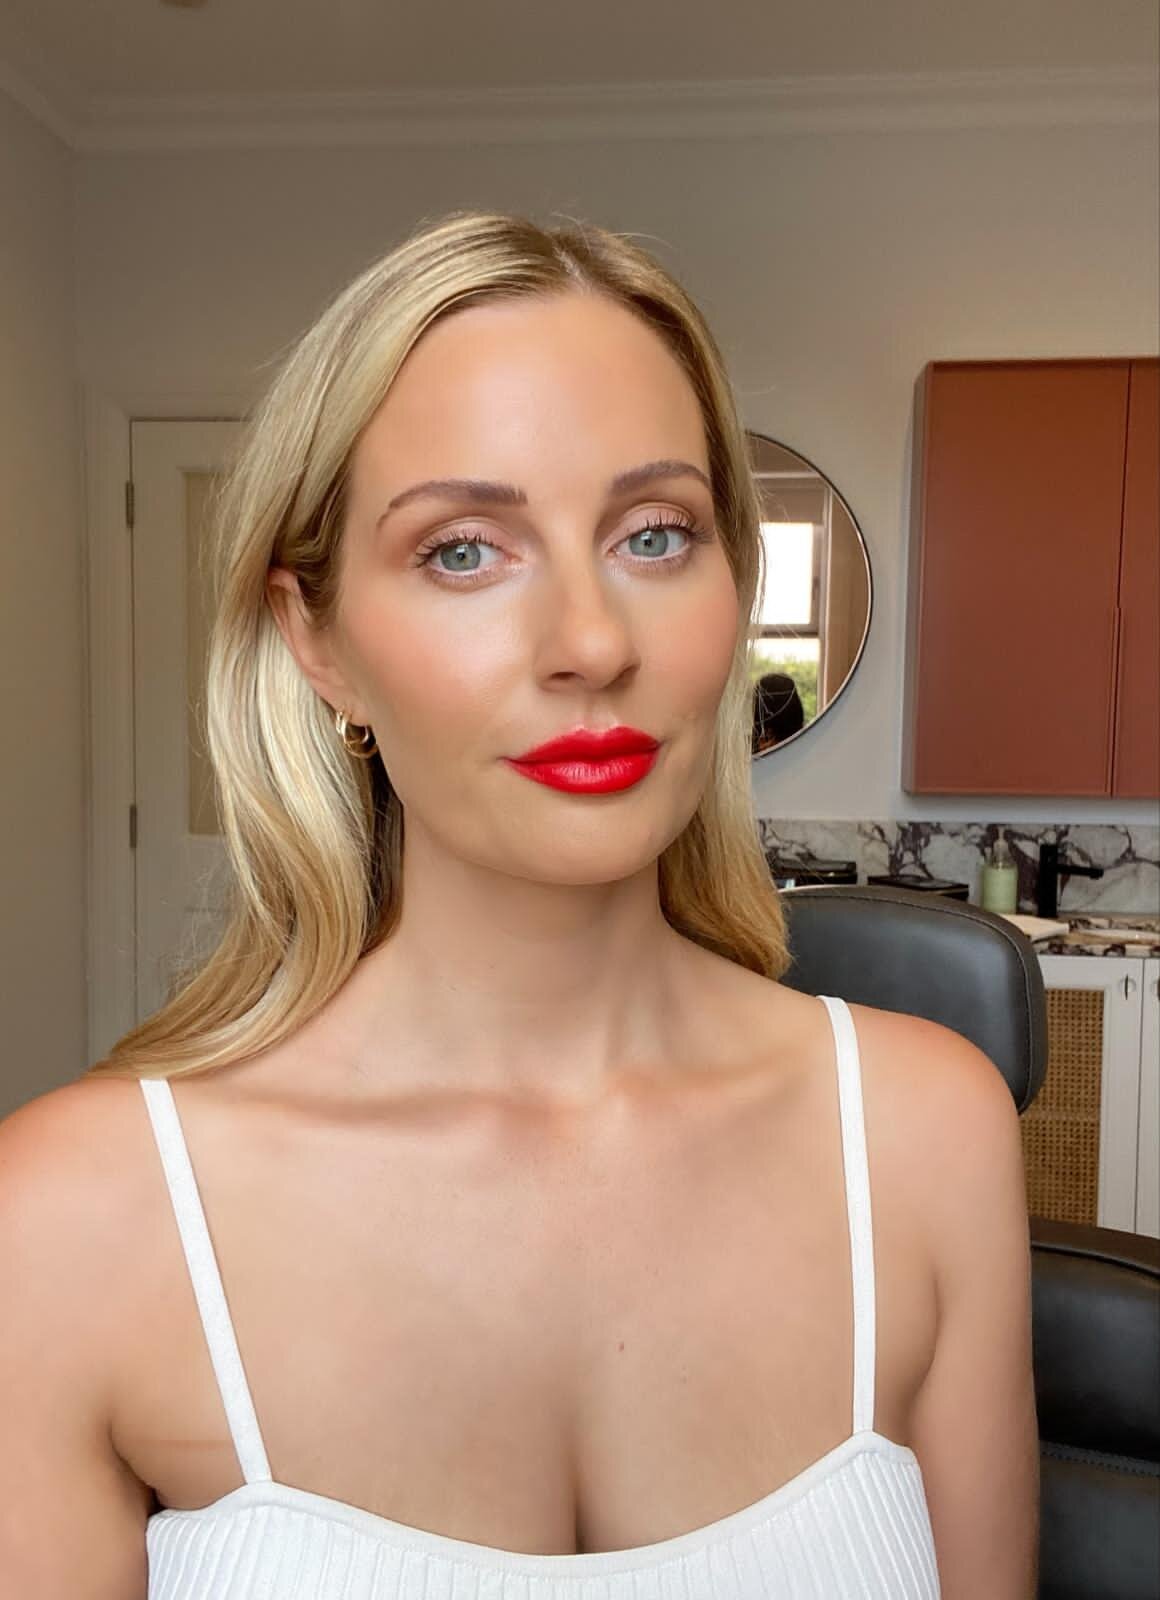
RED LIPS
Building on our daytime look for an after-hours occasion, adding a bold red lip will take you straight to the dance floor. If there’s one piece of advice Serena gives here - it’s to choose between a statement eye or lip, but not both. It’s one or the other.
STEPS
First prime the lips with the BY TERRY BAUME DE ROSE to help the lipstick last longer and even out any dryness which will help prevent any cracking or bleeding of the colour around the edges.
For a softer finish, try using a brush rather than a liner for more natural look when applying the DIOR ROUGE 999 VELVET LIPSTICK.
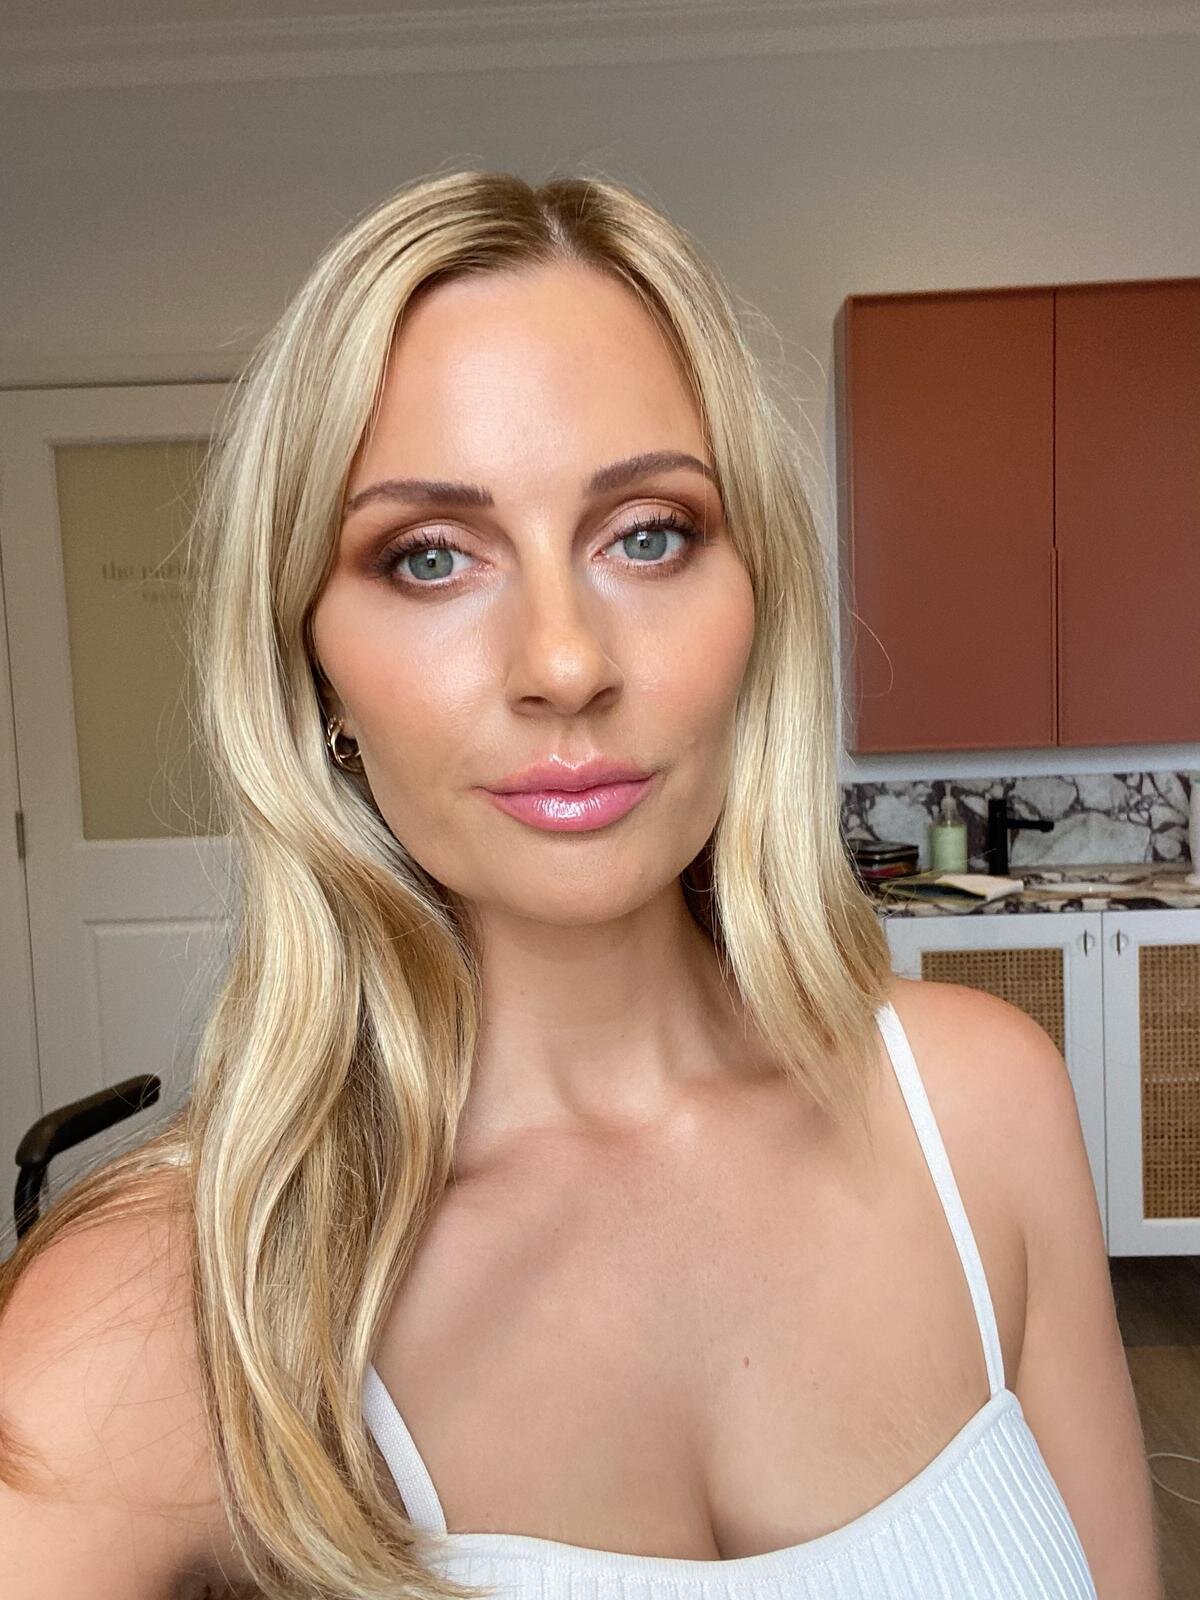
SMOKEY EYE
A modern take on the smokey eye, this look is definitely one of our favourites for a night out with the girls. The best part? You can continue to build more depth as you go and allows for easy application of a winged liner if you’re not that confident applying yourself.
Our tip: Sticking to browns and bronzes is a lot more forgiving and will pair well with most outfits.
The biggest thing to remember when doing a smokey eye is that you want it to last. So you need to make sure you prime the eye. Not only will it blend a lot smoother but will help ensure it stays on for longer and smooth out any discolouration.
STEPS
Prime the eye with the NARS SMUDGE PROOF EYESHADOW BASE. this will make the shadow blend a lot smoother, stay on for longer and even out any discolouration.
Using the CHARLOTTE TILBURY DESERT HAZE EYESHADOW PALETTE build from the base up, making sure to blend as you go, working in circular motions. You want to keep the lighter colours in the inner eye and darker towards the outer eye, where you’ll blend, lifting to the outer corner of the brow toward the temple.
Adding a wing is an easy addition here when using your angled brush. Just take the darker colour from your eyeshadow palette softly along the eyelid, working from the centre out and blending it into the eyeshadow for that subtle lift.
TIP: Spray the angle brush with water to make the colour a bit darker.
To finish, stick to something soft and neutral on your lips. You’ve already got a statement eye and it can sometimes be a bit too much with a bold lip as well.


